Have you ever considered the transformative power of lined curtains in your home? Not only do they enhance the aesthetic appeal of any room, but they also offer practical benefits like insulation and light control.
Imagine crafting your own lined curtains that perfectly match your decor and meet your specific needs. The thought might seem daunting, but it’s easier than you think. By diving into the process yourself, you gain creative control and the satisfaction of a personalized touch.
Ready to discover the secrets to making beautiful lined curtains that reflect your style and serve your home efficiently? Let’s explore the step-by-step guide that will empower you to create your own stunning and functional window dressings.
Materials And Tools
Creating lined curtains requires fabric, lining material, measuring tape, scissors, pins, and a sewing machine. Select durable fabric and matching lining for best results. Accurate measurements ensure a perfect fit.
To make lined curtains, gathering the right materials and tools is crucial. A well-planned selection ensures your curtains hang beautifully and last long. Here’s a breakdown of what you’ll need to get started.
Choosing The Fabric
Selecting the right fabric sets the tone for your curtains. Consider the room’s style and lighting. Popular choices include cotton, linen, or polyester. Each offers unique textures and light filtering. For a luxurious feel, opt for velvet or silk. Make sure the fabric complements your room’s decor.
Selecting The Lining
The lining material affects how your curtains drape and block light. Polyester linings are durable and easy to maintain. Cotton linings offer a natural look and feel. For blackout curtains, use a thicker lining. Choose a lining that matches your main fabric’s weight.
Essential Sewing Tools
You’ll need a few key tools to sew your curtains. A sewing machine is essential for even stitching. Use sharp fabric scissors for clean cuts. Pins help hold the fabric in place while sewing. An iron ensures your seams lay flat. A measuring tape ensures precise measurements. Keep these tools handy for a smooth sewing experience.
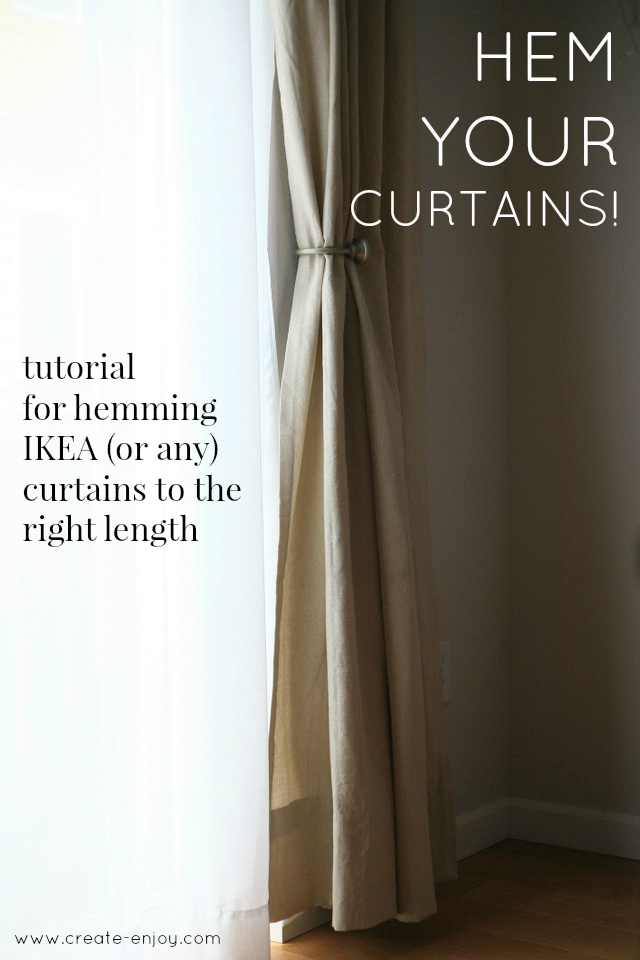
.JPG)
Credit: www.create-enjoy.com
Measuring For Curtains
Measuring for curtains is crucial for a perfect fit. Accurate measurements ensure your curtains hang beautifully. This guide will help you measure with confidence.
Determining Curtain Length
Decide where the curtains should end. Do you prefer them touching the floor or stopping at the window sill? For floor-length curtains, measure from the rod to the floor. Add a few extra inches if you want them to puddle slightly. For window sill length, measure from the rod to the sill. Aim for precision to achieve your desired look.
Calculating Fabric Width
Measure the width of the window. To achieve fullness, multiply the width by 2 or 2.5. This ensures the curtains drape nicely when closed. Divide the total width by the fabric’s width to know how many fabric panels you need. Consider the curtain rod’s style and brackets when calculating.
Preparing The Fabric
Choose a fabric that complements your room’s decor. Iron the fabric to remove wrinkles. Measure and cut the fabric to the desired length, ensuring extra material for hems and seams.
Preparing the fabric for lined curtains is an essential step that sets the foundation for a polished and professional finish. The fabric you choose can greatly influence the overall look and feel of your curtains. Whether you’re aiming for a luxurious ambiance or a cozy setting, the right preparation can make all the difference. Let’s dive into the details of how to get your fabric ready for lining.
Cutting The Fabric
Properly cutting your fabric ensures that your curtains hang evenly and look symmetrical. Start by measuring your window dimensions and decide how long and wide you want your curtains to be. Double-check these measurements to avoid any costly mistakes. Lay your fabric on a flat surface and use a sharp pair of fabric scissors or a rotary cutter for clean, precise cuts. Remember to leave extra inches for hems and seams. This will give you room to adjust without compromising on the final look.
Attaching The Lining
The lining is not just an aesthetic addition; it enhances the durability and functionality of your curtains. Choose a lining material that complements the main fabric, considering factors like light filtration and insulation. Pin the lining to the fabric, ensuring it’s aligned correctly. This helps prevent any bunching or unevenness when sewing. Use a sewing machine to stitch the lining to the fabric along the edges, keeping your lines straight for a neat finish. Do you prefer a heavier lining for blackout curtains or something lighter for a breezier feel? Your choice can dramatically affect the room’s ambiance, so consider how much light and privacy you desire.
:max_bytes(150000):strip_icc()/15.AJ_1186_962copy-recirc-96f43b93e5e1427e96106fd5301e6f9e.jpg)
Credit: www.thespruce.com
Sewing Techniques
Sewing lined curtains can enhance any room’s aesthetic. The process ensures your curtains hang well and add elegance. Mastering a few basic sewing techniques can make this project straightforward. Let’s explore some key steps involved in sewing lined curtains.
Creating Hemlines
Start by creating neat hemlines. Fold the fabric edge twice to form a clean hem. Use pins to hold the fold in place. Sew a straight line along the edge to secure the hem. A double-fold hem gives your curtains a polished look.
Joining Fabric And Lining
Align the fabric and lining right sides together. Make sure the edges match up perfectly. Pin them together along the edges. Sew along the pinned edges, leaving a small gap. Turn the curtain right side out through the gap. Sew the gap closed for a seamless finish.
Adding Pleats Or Gathers
Choose between pleats or gathers for your curtain top. Pleats add a structured look, while gathers offer a softer feel. For pleats, mark equal spaces along the fabric top. Fold and pin each pleat in place. Sew across the top to secure the pleats. For gathers, run a basting stitch along the fabric top. Pull the thread to gather the fabric evenly. Secure the gathers with a final stitch.
Finishing Touches
Creating lined curtains involves measuring fabric, cutting it to size, and sewing the lining and main fabric together. Choose a fabric that complements your decor, then carefully stitch along the edges for a neat finish. Press the seams to ensure the curtains hang beautifully.
The final touches on your lined curtains can elevate them from simple window coverings to a statement piece in your home. These details not only ensure your curtains hang beautifully but also add a professional polish. Let’s dive into the critical aspects of finishing your curtains to perfection.
Hemming The Edges
Hemming the edges of your curtains is essential for a neat and tailored look. Start by folding the fabric edge over twice to hide any raw edges, then press with an iron to create a crisp line. Sew along the folded edge using a matching thread. Make sure your stitches are even and consistent to avoid puckering. This simple step can significantly enhance the overall appearance of your curtains. Consider using a blind hem stitch for a more invisible finish. It gives your curtains a clean look without visible stitching lines, especially beneficial for lighter fabrics.
Installing Curtain Hooks
Curtain hooks are the unsung heroes of window treatments, ensuring your curtains hang correctly and slide smoothly. Choose hooks that fit the weight and type of your curtains, such as pinch pleat or S-hooks. Attach the hooks to the heading tape on the top of the curtain. Space them evenly to avoid sagging and ensure the fabric drapes elegantly. Have you thought about using adjustable hooks? They allow you to easily change the curtain height without rehanging. This flexibility can be a game-changer when you want to tweak your decor or accommodate different curtain rods. By focusing on these finishing touches, your lined curtains will not only function seamlessly but also enhance the aesthetic of your space. What personal touches will you add to make your curtains unique?
Hanging The Curtains
Getting your lined curtains hung correctly transforms your space. It adds elegance and functionality to your room. The process involves choosing the right rod and adjusting for length. These steps ensure your curtains hang beautifully.
Choosing The Right Rod
Selecting the correct rod is crucial. It supports the curtains’ weight and complements your décor. Look for a sturdy material. Metal rods offer durability and strength. Consider the rod’s finish. Match it with your room’s theme for a cohesive look.
Measure the width of your window. Choose a rod that extends beyond the window frame. This prevents light from seeping through the sides. Extendable rods are flexible options. They adjust to fit your space perfectly.
Adjusting For Length
Proper length adjustment ensures your curtains hang gracefully. Measure from the top of the window to your desired length. Decide if you want floor-length or just above the sill. Floor-length adds drama, while shorter lengths feel casual.
Check the curtain length before hanging. Use a tape measure for accuracy. Consider the curtain fabric’s weight. Heavy fabrics may stretch over time. Ensure they don’t drag on the floor. Adjust the rod height if needed.
- Double-check measurements to avoid errors.
- Ensure even length on both sides.
With these steps, your curtains will hang perfectly. Enjoy the transformation in your room!
Tips For Customization
When you’re crafting lined curtains, customization is the key to transforming a simple fabric into a statement piece that reflects your style. Whether you’re looking to add a touch of elegance or a splash of personality, there are endless ways to personalize your curtains. Dive into these tips and find out how small details can make a big impact.
Adding Decorative Trims
Decorative trims are like the cherry on top of a beautifully crafted curtain. They offer a way to add flair without overwhelming the design. You can choose trims that match the room’s color palette or opt for contrasting shades to make the curtains pop. Think about using lace for a vintage feel or pom-poms for a playful touch.
A friend once added gold braiding to her blue velvet curtains, transforming her living room into a regal space. Her guests were captivated by the luxurious detail. What trim would make your curtains a conversation starter?
Using Tiebacks
Tiebacks are more than practical—they’re another opportunity for customization. They can range from simple fabric bands to elaborate tassels and metal hooks. If you have a bright room, consider using bold tiebacks to complement the sunny vibe.
Imagine the elegance of a silk tieback in a dining room or the casual charm of a rope tieback in a coastal-themed bedroom. You can even create your own tiebacks from materials you have at home. What unique tieback idea will bring your curtains to life?
Credit: petticoatjunktion.com
Troubleshooting Common Issues
Creating lined curtains can sometimes lead to unexpected challenges. These issues can affect the final look of your curtains. Knowing how to fix these problems can save time and effort. Here are solutions to some common problems.
Fixing Uneven Hems
Uneven hems can make curtains look unprofessional. Measure both sides of the curtain carefully. Use a ruler or tape measure for accuracy. Pin the fabric evenly before sewing. This helps maintain straight lines. Check your sewing machine settings. Ensure the stitch length is consistent. Adjust as needed to avoid puckering. If the hem is already uneven, unpick the stitches. Re-pin and sew the hem again.
Resolving Lining Wrinkles
Wrinkles in the lining can be frustrating. They affect the curtain’s appearance. Press the lining with a hot iron. Set the iron to the appropriate fabric setting. Steam can help remove stubborn wrinkles. Place a damp cloth over the lining for extra protection. Avoid direct contact with the iron. This prevents fabric damage. Consider using wrinkle-release spray. It can smooth out minor creases effectively.
Frequently Asked Questions
How To Make Lined Curtains For Beginners Step By Step?
Start by measuring your window and cutting fabric. Sew the curtain and lining fabrics together. Hem the bottom edges. Attach curtain rings or hooks. Finally, hang your lined curtains on a rod.
Is It Worth Relining Curtains?
Relining curtains can be worth it for improved insulation and aesthetics. It revitalizes their appearance and enhances durability. Consider relining if your curtains are worn or outdated. This cost-effective update can transform your space, providing better light control and privacy.
It’s a smart choice for maintaining curtain functionality and style.
How To Add A Lining To A Curtain?
Start by measuring the curtain dimensions. Cut the lining fabric to match. Pin and sew the lining to the curtain edges. Use thread that matches the curtain color for a neat finish. Iron the curtains for a crisp look and hang them.
Is It Cheaper To Make Your Own Curtains?
Making your own curtains can be cheaper if you choose affordable fabric and avoid complex designs. Consider material costs, time, and skill level. Homemade curtains offer customization, but ready-made options might save time and effort. Compare prices and evaluate your sewing skills before deciding.
Conclusion
Creating lined curtains is simple with the right steps. Start by choosing the fabric and lining. Measure your windows accurately. Cut the fabric with precision. Sew the curtain and lining together. Iron the seams for a clean finish. Add curtain hooks or rings.
Hang your curtains with care. Enjoy the new look of your room. Lined curtains add elegance and block light. They are practical and stylish. Try making your own today. Experience a cozy, beautiful space. Your room deserves it.


